


 English
 中文简体
中文简体 Español
Home / News / Industry News / Walk-in Cooler Digital Thermostat Guide: Upgrade, Install & Save Energy
Industry News
When a walk-in cooler starts cycling too often, or the temperature swings more than a few degrees between runs, the culprit is often the thermostat. Many existing coolers still run on electromechanical controls that switch the compressor on and off with a wide temperature band. Swapping in a walk-in cooler digital thermostat solves the most common complaints: unstable box temperatures, short compressor life, and wasted energy. But the thermostat is only one link in the chain. The precision it offers only fully pays off when it works in harmony with the condensing unit and evaporator. Here is what to consider before, during, and after the upgrade.
Content
Electromechanical thermostats have served cold rooms for decades, but they are imprecise by design. They use a mechanical bellows or bimetal strip to open and close a switch. That mechanism has a physical cut-out and cut-in point, known as the differential. To protect the compressor from short cycling, the differential must be wide enough. That same width, however, allows box temperature to drift before the system reacts. A digital thermostat replaces that wide swing with a solid-state sensor that reads air temperature continuously and controls the refrigeration circuit with much finer resolution.
The practical result is threefold: more stable product temperatures, fewer unnecessary starts, and lower running costs. For a busy kitchen or a storage room holding perishables, the difference between a 3°F swing and an 8°F swing is not trivial. Product quality, shelf life, and food safety all track closely with how steady the air temperature remains.
Consider a cooler set for 40°F with a mechanical thermostat that has a 5°F differential. The compressor starts when the box warms to 45°F and keeps running until the sensor sees 40°F. In a busy kitchen with frequent door openings, the load may push the box closer to 48°F before the compressor kicks in. On the other end, the evaporator fan keeps running after the compressor stops, so the coil continues to cool the air, potentially dropping the box to 37°F or lower before the temperature stabilizes.
That wide band creates two problems. First, the compressor runs longer and starts more often than necessary, which raises energy use and wears out the motor and contactor. Second, the product experiences a temperature rollercoaster. For items like dairy, meat, or prepared food, the repeated fluctuation accelerates spoilage. The fix is not simply narrowing the differential on a mechanical unit, because doing so causes the compressor to short-cycle. That is precisely where a digital controller earns its place: it can hold a tight band, typically 1°F to 2°F, without abusing the compressor.
A walk-in cooler digital thermostat does more than maintain a set point. It coordinates the compressor, evaporator fans, and defrost heater in a logical sequence. For example, during a defrost cycle, the controller can shut off the compressor, stop the evaporator fans, energize the heaters, and then terminate the cycle based on coil temperature rather than a fixed timer. This prevents unnecessary heat build-up inside the box and saves energy.
Digital controls also open the door to better integration with modern refrigeration hardware. On a standard fixed-speed unit, the thermostat simply cycles power to the compressor contactor. With a variable-frequency condensing unit, the controller can send a continuous signal that ramps compressor speed up and down, matching capacity to load. That is a significant step beyond simple on/off logic. The same principle applies to evaporator fans: instead of always running at full speed, they can be staged or slowed during low-load periods, improving humidity retention and cutting fan energy.
For operators, the practical benefit is fewer temperature alarms, less frost build-up, and a quieter cooler. For technicians, digital controls make diagnostics easier. The controller logs run times, defrost cycles, and alarm history, so problems are identified in minutes rather than through trial and error.
Choosing the right controller is not about picking the model with the most features. It is about matching the thermostat to the refrigeration system it will manage. Start with the basics: sensor type, temperature range, defrost mode, and output contacts.
The most common selection mistake is buying a controller that is not compatible with the evaporator's defrost method or the condensing unit's control voltage. The thermostat must work with the condensing unit's logic and the evaporator's defrost system. When in doubt, check the wiring diagram of the existing unit or contact the equipment manufacturer for a recommendation.
Replacing a mechanical thermostat with a digital one is a straightforward job for an experienced technician, but the details matter. The install involves three separate tasks: wiring, sensor placement, and parameter setup. Each one affects how well the system performs.
Most mechanical thermostats are two-wire devices. They simply open and close a circuit. A digital controller needs power to run its own electronics, so it requires an additional supply line. In practice, that means running at least three wires, and often four or five, between the controller and the control panel.
Here is the sequence a technician should follow:
The liquid line solenoid, if present, should be wired to the same compressor output or to a dedicated output on the controller. Always refer to the equipment's electrical drawings to confirm the control voltage of the contactor coil. Mixing voltages is a common cause of fried boards.
Once the wiring is complete, the next step is sensor placement. The air sensor should be mounted in the return-air path, near the evaporator intake, but not directly in the discharge airstream. A sensor in the discharge path reads the cold air blowing off the coil and cycles the compressor too often. The ideal location is in the path where air returns to the evaporator, representing the average box temperature.
After the sensor is placed, configure the controller:
Let the system run through a full cycle. Watch the compressor start and stop at the expected temperatures, and confirm the defrost cycle terminates cleanly. Finally, place an independent thermometer in the center of the box and compare it to the controller's display. A 1°F to 2°F offset is normal. If the readings differ by more than that, recalibrate the sensor.
The progression from mechanical to digital control is not the final stage. A fixed-speed compressor either runs at 100% or 0%, so a digital thermostat can only switch it on and off. A variable-frequency condensing unit, on the other hand, can run the compressor at 30%, 60%, or 85% capacity, matching the cooling output directly to the load. That continuous modulation is far easier on the electrical system and holds box temperature within a fraction of a degree.
For this to work, the controller must send a continuous signal, typically 0-10V or 4-20mA, to the inverter drive, rather than a simple open/closed contact. This is where the role of the thermostat expands into a full system controller. It reads box temperature, coil temperature, and compressor current, then adjusts the frequency command in real time.
The control logic itself is becoming more intelligent. Instead of a fixed PI loop, some modern controllers use algorithms that learn the thermal inertia of the box. They track how fast the temperature rises after a door opening and how quickly the coil pulls down, and then they adjust the compressor response accordingly. This is the foundation of how intelligent condensing units are evolving. The trend is clear: the thermostat is no longer a simple switch; it is the brain of the refrigeration system.
A particularly interesting development is AI variable-frequency hot fluorine technology, which tackles defrost efficiency. In a standard hot gas defrost, the compressor keeps running at full speed while the hot discharge gas is routed to the evaporator. An AI-controlled unit can instead ramp the compressor speed and manage the valves to do the same job with less heat input. The result is a shorter and cooler defrost cycle, which keeps the box temperature more stable and reduces energy waste.
No thermostat, no matter how precise, can fix an undersized evaporator or a condensing unit that cycles constantly due to a stuck valve. The control signal is only as good as the hardware it drives. When upgrading a walk-in cooler, it is worth evaluating the whole system, not just the thermostat.
Here is how the pieces fit together. The thermostat senses box temperature and sends a call for cooling. The condensing unit must respond smoothly to that call, whether it is a simple on/off contact or a variable-frequency command. The evaporator must match the condensing unit's capacity. If the evaporator is too small, the coil will frost up quickly and the aggressive defrost schedule will eat into the efficiency. If it is too large, the box may pull down too fast, causing the thermostat to short-cycle.
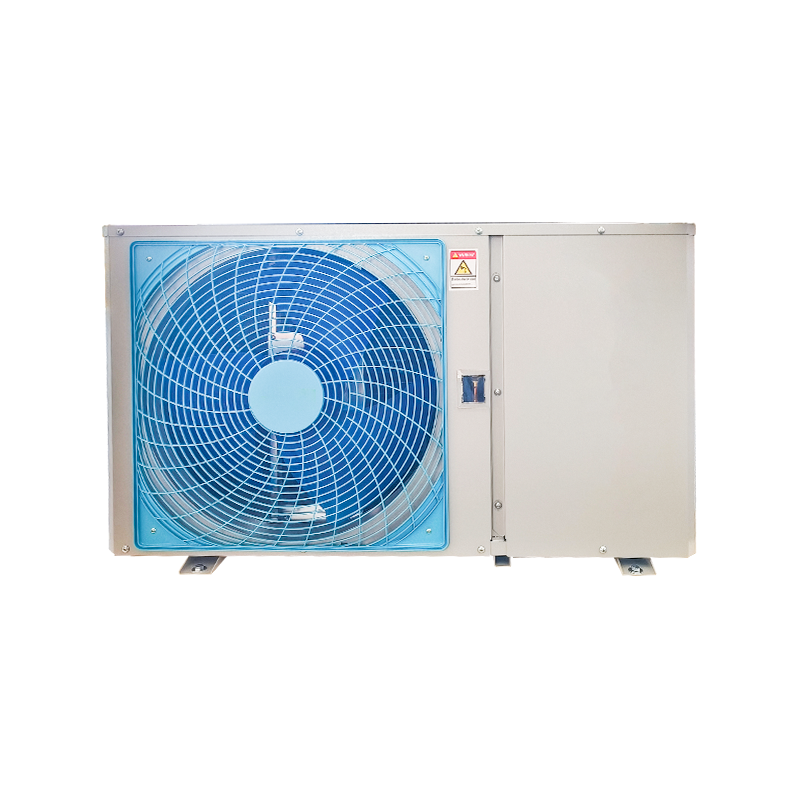
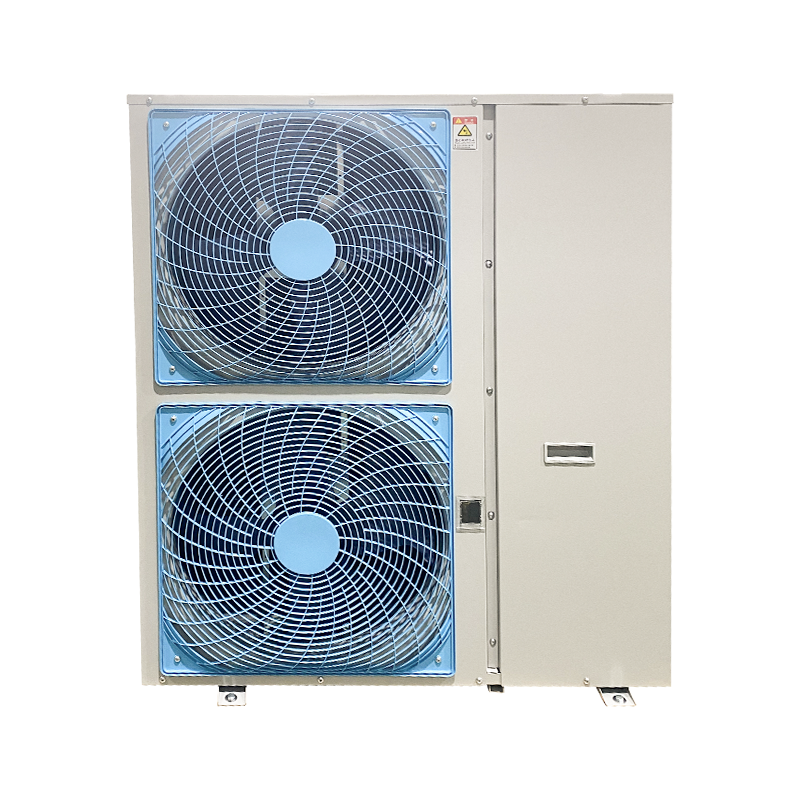
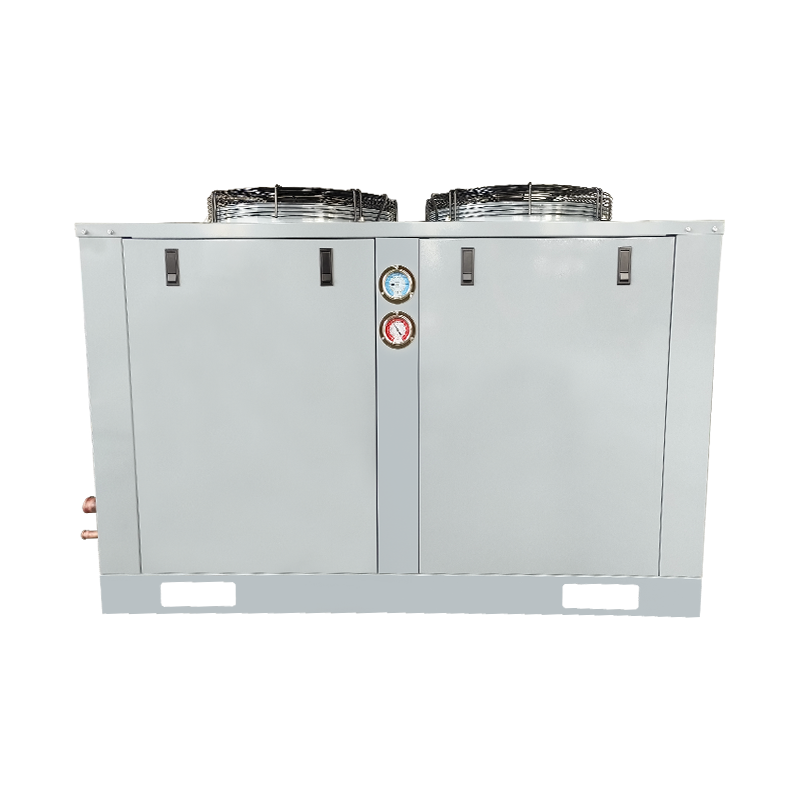
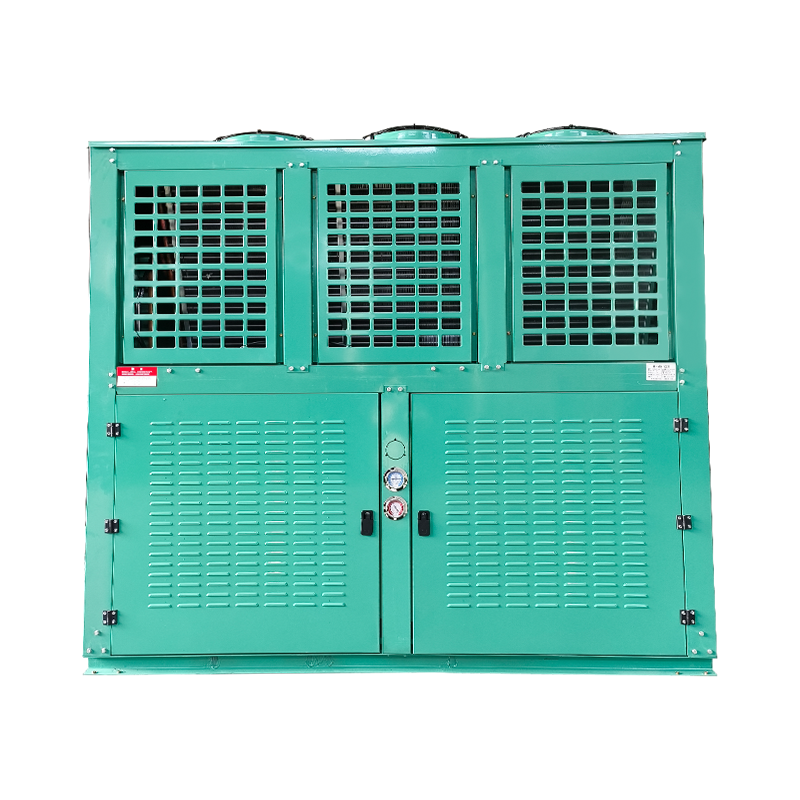
For new installations, it is often simpler to choose an integrated system in which the condensing unit, evaporator, and control are designed to work together. This is why air-cooling condensing units for precise temperature control are specified as complete systems. When the parts are matched by the manufacturer, the control loop is stable, and the thermostat's precision actually shows up in the box temperature rather than being wasted by slow or erratic hardware. For existing coolers, check the condensing unit's operating sequence and the evaporator's defrost method before committing to a new controller. If the compressor is old and inefficient, compact and quiet condensing unit options may be a better upgrade path than simply replacing the thermostat.
Before you buy a walk-in cooler digital thermostat, walk through these questions. The answers will tell you whether a simple swap is enough, or whether the system deserves a more comprehensive look.
Upgrading to a digital thermostat is one of the highest-return improvements you can make to a walk-in cooler. The precision it adds protects the product, the logic it provides cuts energy use, and the diagnostics it enables save hours of technician time. When paired with a properly matched condensing unit, the system performs as one integrated machine, not a collection of mismatched parts. For a full approach to the cold storage system, explore one-stop refrigeration solutions for cold storage to see how components are designed to work together from the start.
For exclusive deals and latest offers, sign up by entering your email address below.

We specialise in the refrigeration industry. Please feel free to contact us.
